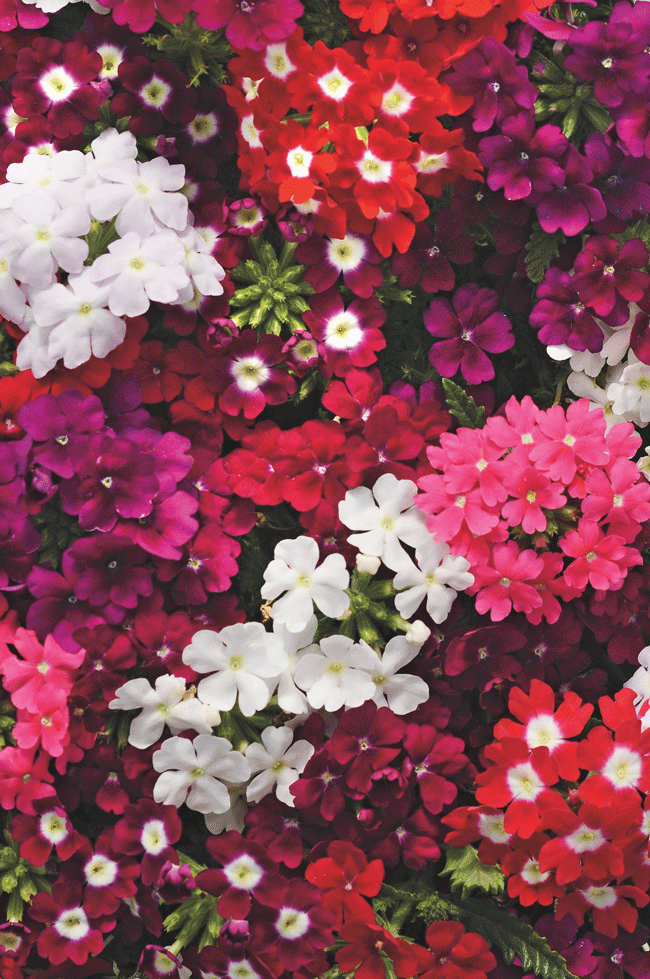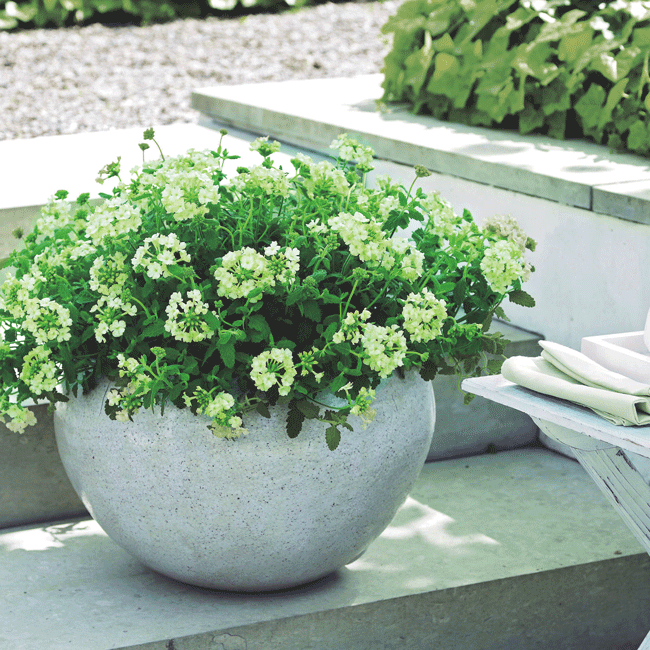
Mounding Annual
Mounding Verbena
Verbena spp.
Mounding Verbena
Verbena spp.
Care & Maintenance
Plant Code:
L01658
Light:
Full Sun - Morning sun in extreme heat climates
Water:
Semi-Moist
Bloom Time:
Spring to Fall
Flower Color:
Multicolor
Average Size:
8-12" H x 8-12" W
Spacing:
8-12"
Cold Hardiness:
Non-hardy below 32°F
About This Plant
- An annual plant completes its life cycle in the span of one growing season. This means they germinate from seed, grow, flower, set seed and then die; usually Spring to Fall. Some annuals thrive in cool weather and complete their life cycle Fall to Spring.
- Annual flowers are a prime source of landscape color. While some trees, shrubs, and perennials provide short or intermittent periods of color, annuals provide instant color and continue non-stop for a long period of time. Most begin blooming in early spring and don’t stop until first frost. Others are planted in fall and bloom until early summer.
- Annuals come in a wide range of flower colors, growth habits, and sizes. Some are prized for their colorful foliage rather than their blooms. There are varieties for sun or shade areas making it easy to find an annual for any landscape setting including beds, borders, window boxes, hanging baskets and ground cover.
- Using growth habits in the landscape
- One great advantage of annual flowers is the flexibility they offer in landscape design. Beds and containers can easily be changed each growing season to create an entirely new look.
- When creating an annual bed with a variety of annuals, tall upright annuals should occupy the center of an island planting or the back of a bed or border that is located against a wall, fence or building. Use medium size mounding plants in the middle and the shortest trailing plants in the front.
- To make a huge visual impact, plant the same variety and color annual in one area. This is commonly referred to as a mass planting.
- In combination planters, use tall annuals as the centerpiece surrounded by mounding varieties with contrasting flowers and foliage. Then add trailing varieties to cascade over the edge of the planter.
- Annuals are often added to perennial gardens in the same way to supply additional color and fill gaps between perennial blooming cycles.
Additional Information
Deer resistant but not deer proof-depending on scarcity of food.
Uses
Beds and Borders, Container, Mass Planting
Attributes
- Clusters of colorful flowers
- Heat tolerant once established
- Ideal in rock gardens, containers
- Easy to grow
How to Water
- New plants require more frequent watering than established plants. After planting check for water regularly until fully rooted and established.
- For large plants; build a soil ring around the plant to use as a water reservoir. This will assist in watering until the plant is established.
- Always water slowly and deeply making sure the root ball is completely saturated.
- Don't water at night if possible. Watering in the morning helps prevent disease.
- If new plant wilts between watering, increase the frequency of watering.
- Plants in hot, humid or sunny areas need more frequent watering than plants in cool climates.
- Plants in containers may require more frequent watering than plants in the ground. This will depend on plant variety, pot size and soil.
- Add a 2-3"" layer of organic mulch around plant to maintain and conserve soil moisture. Mulch will reduce watering frequency and speed root establishment.
How to Plant
- Prepare the area for planting by conditioning the soil. Loosen the soil and incorporate an organic soil conditioner according to directions.
- Dig a hole 2 times the width of the root ball and a depth slightly less than the height of the root ball. Allow the top surface of the root ball to rest 1/2 inch higher than the soil line.
- For container grown plants, carefully remove plant by squeezing container and slowly removing the root ball. Never pull on the plant trunk. Instead let the root ball slide out by tipping the container. If the plant is heavily rooted, loosen roots by gently pulling a few away from the root ball. This encourages stronger root growth. Set root ball in hole making sure the top of the root ball is slightly higher (1/2 inch) than ground level. Place soil mix under root ball if too low. Backfill soil mix around plant to ground level and tamp lightly removing all air pockets.
- For biodegradable pots, follow the directions on the container.
- For bare root plants, trim any broken, twisted or discolored tips. Determine the original soil line by the change in color on the plant trunk. Set the plant in the hole so the soil line is above the surrounding soil. Space the roots evenly. Backfill soil mix around and between the roots and tamp lightly removing all air.
- Water thoroughly to settle the soil around the plant. Add more soil mix around plant if necessary after watering. Apply root stimulator to encourage new root growth and fast establishment.
- If a large plant; build a soil ring around the plant, 6" beyond the edge of the hole, to use as water reservoir to assist in watering until established.
- Add a 2-3" layer of mulch around plant to conserve soil moisture and eliminate future weeds.
- For large shrubs, it may be necessary to secure the trunk by using three stakes placed at equal distances around the plant.
How to Fertilize
- Fertilize just before and during the plants active growing cycle. Fertilization should begin just prior to new growth and end three or four weeks before the first frost.
- Choose an all-purpose fertilizer recommended for flowering and/or foliage plants. Frequency will depend on the type of fertilizer. Liquid (water soluble) and granular quick release fertilizer, require more frequent application; slow release granular fertilizer requires less.
- When using granular fertilizer be sure to sprinkle fertilizer pellets away from the plant stems or trunk to prevent possible burning and always water thoroughly after application. This dissolves or releases the fertilizer into the soil. Apply water soluble fertilizer by thoroughly drenching the leaves and soil.
- Always follow fertilizer package directions.
How to Prune
- Prune as required to keep plants a desired size or shape.
- Encourage new blooms by cutting off dead or faded flowers.
- Plants with branches originating from the roots of the plant need to be selectively pruned. Prune by removing the oldest branches completely. This will allow new, more productive branches to develop and produce flowers.
- Remove damaged or dead limbs back to live wood.
- When pruning, make angled cuts just above the bud.
- Use proper tools such as shears, hand pruners, pole pruners and pruning saws. Make sure all equipment is clean and sharp.
- Fertilize after pruning to help speed new growth.
Resource Center
Product Checklist
- Planting MixPromotes strong healthy growth and more flowers
- Potting SoilReady to use mix for indoor and outdoor containers and hanging baskets
- Plant StarterHelps plants quickly establish to their new home
- Slow Release FertilizerFeeds for months with one application. Safe to use on new plantings
- Organic MulchPrevents weeds for months, saves water and beautifies
- Planting ToolsShovels, trowels, cultivators and other tools to make planting easy
- Pre-emergent Weed ControlApply to ground after planting to prevent new weeds from sprouting
- Soaker HoseEasy to use, conserves water, and reduces chance of leaf diseases
- ContainersChoose from light weight resin, clay or ceramic for patio or porch
- Landscape EdgingKeeps beds defined, easy to maintain, and free of lawn grass
- Gardening GlovesFor comfort and protection


 We could not acquire a location at this time.


